how i made this adorable/ghetto ukulele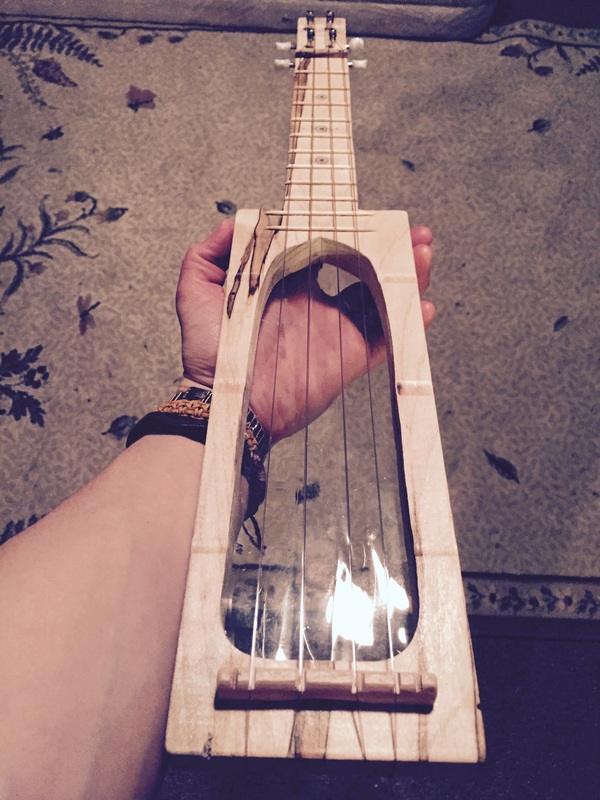 So I was assigned a DIY project for my Interactive Digital Arts class...and I knew I had to make an instrument. I have spent all of my life playing music and yet am unaware of what it takes to make an instrument and the physics behind the crazy beautiful things that make wonderful noise and make me feel so good. I didn't have a whole lot of time, given the fact that I'm trying to keep up on the working out thing (blah) and trying to conquer all of my other classes as well (which I am accomplishing relatively well). Anyhow, check it out! I made a ukulele! I followed almost all of the instructions from the Instructables website ("Make a ukulele with a pocket knife!"), but used wood working tools and altered a few steps. See my tutorial below to figure out how I made this crazy baby guitar thing and...maybe you should even make your own! 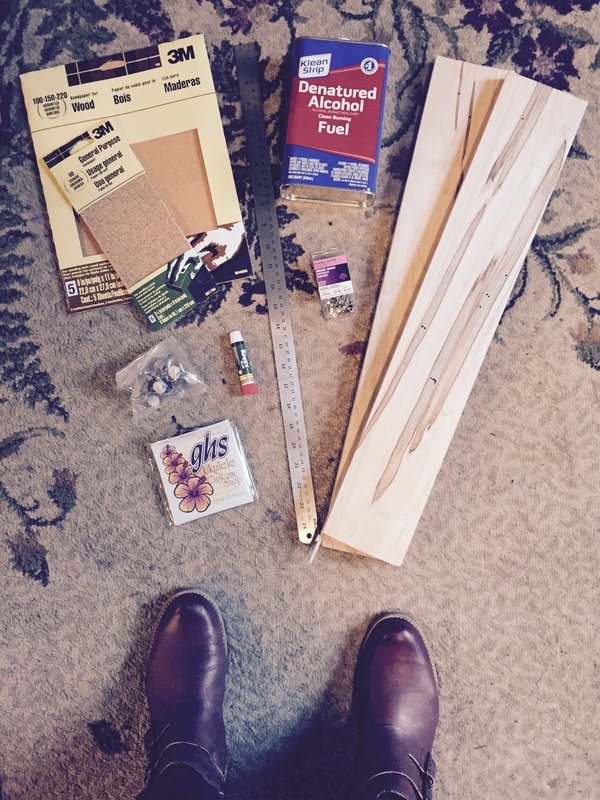 materials: -wood sandpaper (varying grains) -a nice 4'' x .75'' x 24'' wood (I used maple--which smelled delicious while going through the works--I highly recommend it) -a long steel ruler with metric measurements (yes, it comes down to millimeters) -Ukulele strings -super glue -4 ukulele tuning pegs -thumb tacs -toothpicks -(not shown) 2 liter clear PET bottle (like that containing pepsi or something of the nature--it's a #1 recycling container) -some denatured alcohol or something similar (yeah, you're gonna burn stuff) -a metal bottle cap (like one from a beer bottle) -a lighter -2 screws...about an inch long with a good sized-head -(not shown) the following woodworking tools (good luck with this stuff...): -band saw -drill (with relatively large and small bit capabilities) -an oscillating spindle sander -a hand-held jigsaw (also called a saber saw) -a good pocket tool also came in handy ;) OKAY LET'S GET STARTED THEN step 1: cut out your shape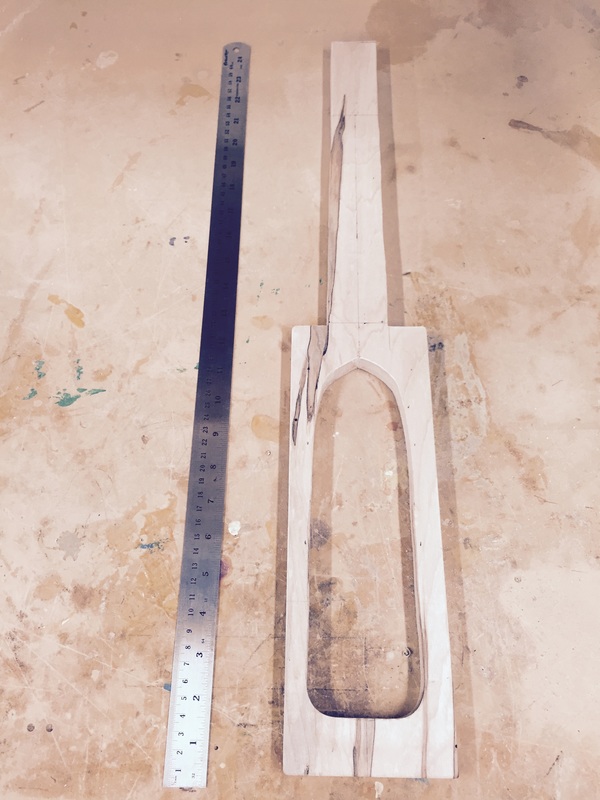 Since the length, height and width of the plank of wood are the correct size, all you need to do is cut out your hole in the middle of the body and also shape the neck. Exact sizes don't particularly matter here, my neck ended up being 33 cm long, and my body 31cm. Basically you want to cut out the neck shape starting half way down the piece of wood. My neck ended up being about 44 mm wide at the body, and 40.5 mm wide at the head piece, creating a nice taper. You can even get creative with your body's hole (teehee). Mark the center of your instrument with pencil so you can get things even. Use the band saw, jigsaw and sander for the above. (if you can't get your hands on these tools, which is understandable, you can actually make this instrument with JUST a pocket tool--though I DO NOT recommend this, as it will take you forever to cut the wood and it is MUCH more difficult to get things perfect...none the less, you can click here for the link) I have used wood working tools only once before this project, so am definitely an amateur! Just get into the shop, know/learn how to work the tools safely, and go for it. It's a good time.  step 2: thin your headstock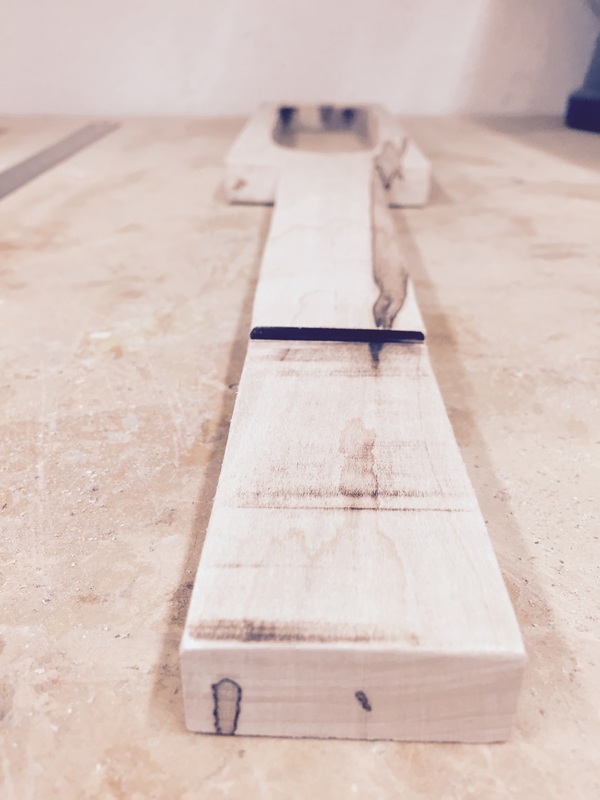 Measure your tuning pegs, and thin your headstock accordingly to their height. The picture above was my first attempt at thinning the head stock....I had to thin it even more to accommodate my tuning pegs. The length of my headstock is about 92 mm. I used the bandsaw (watch your fingies!) to accomplish this. step 3: drill your holes and attach the tuning pegs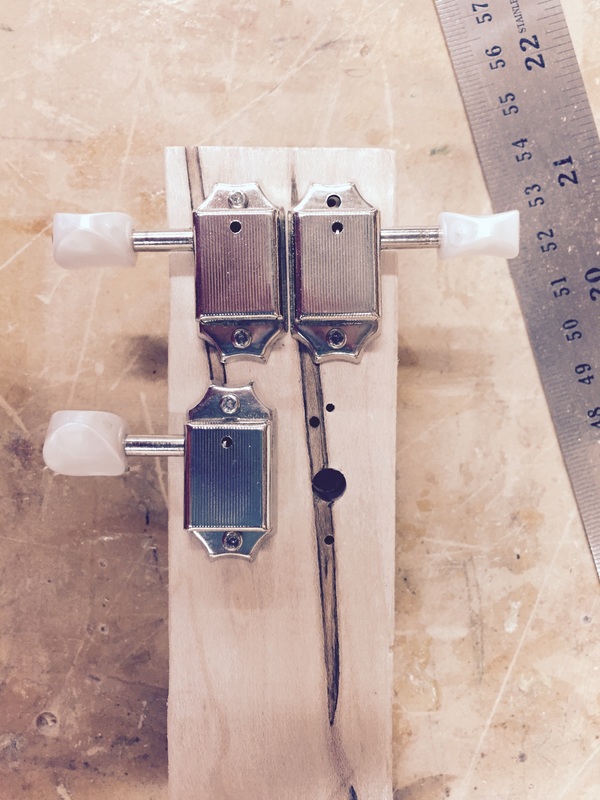 Find a drill bit that matches the diameter of your tuning pegs. It's always best to start small. Measure up and make sure all 4 pegs will fit in the right place on the headstock. I recommend setting the top two pegs closer to the center of the instrument and the bottom two further away from the center. This is so that when you pluck the strings, they don't ring on the metal of the tuning peg below. I had to learn this the hard way, unfortunately.... 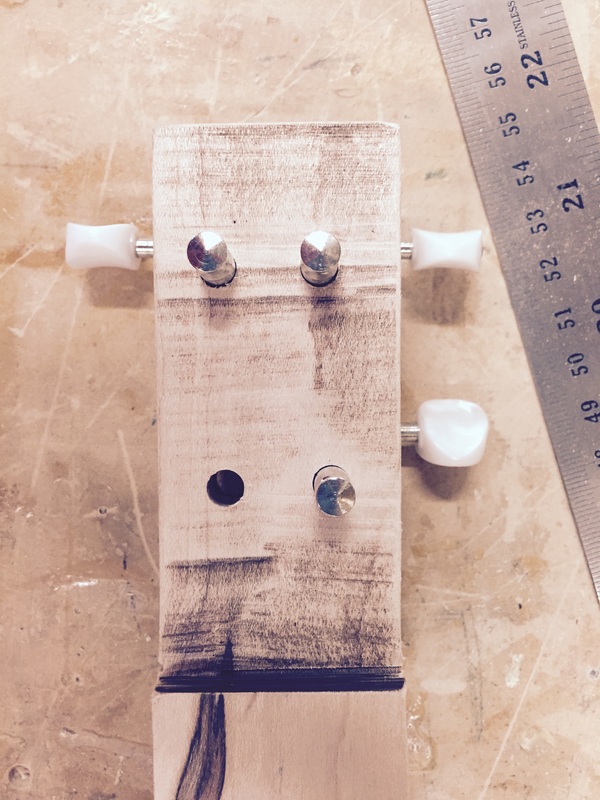 Make the final adjustments and permanently attach the tuning pegs--these babies are not going anywhere! step 4: create and attach a nut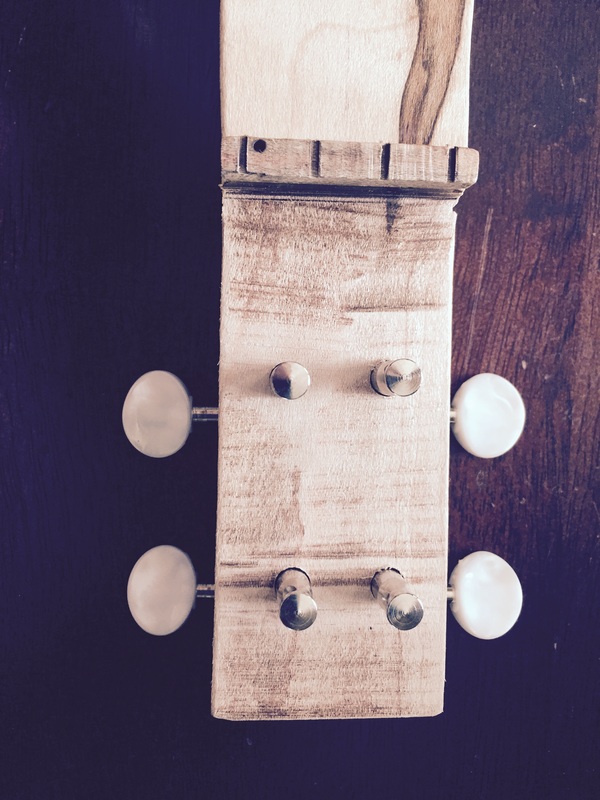 Cut out a piece of wood that is the width of your neck at the edge of the headstock. It should be about 5mm x 4 mm x 41 mm ....yep that works perfect. Now sand or use the bandsaw to create grooves in your nut...make the outer two grooves a few mm from the edges, but not TOO close, and then evenly distribute the other two in between. Superglue the nut on. At this point I also carelessly varnished the whole instrument with some super glue--quick and easy! step 5: create a bridge!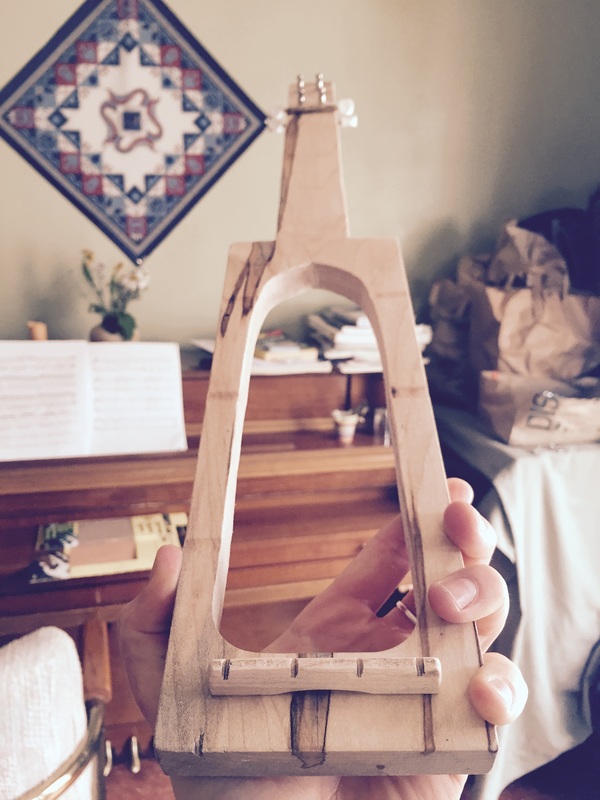 The bridge should be about 6-7 cm long, 8 mm wide and about 11 mm tall. Then sand it down to the top is rounded/somewhat maintaining a triangular shape. Cut 4 grooves in your bridge--BUT DON'T MAKE THEM TOO WIDE (I also learned this the hard way). You probably want the farthest distance from outer groove to outer groove to be no more than 4.5-5 cm. Same rules apply (measure!) for distances here as they did on the nut. I kept the bottom side flat, but sanded up all the edges to make them look nice 'n purrty and also so they're not that dangerous :) I also sanded a groove in the center of my bridge (see above) cause then it's just the real deal. Super glue that baby on just below the bottom of your giant hole. STEP 6: (MEAsure first!) attach the frets and sand down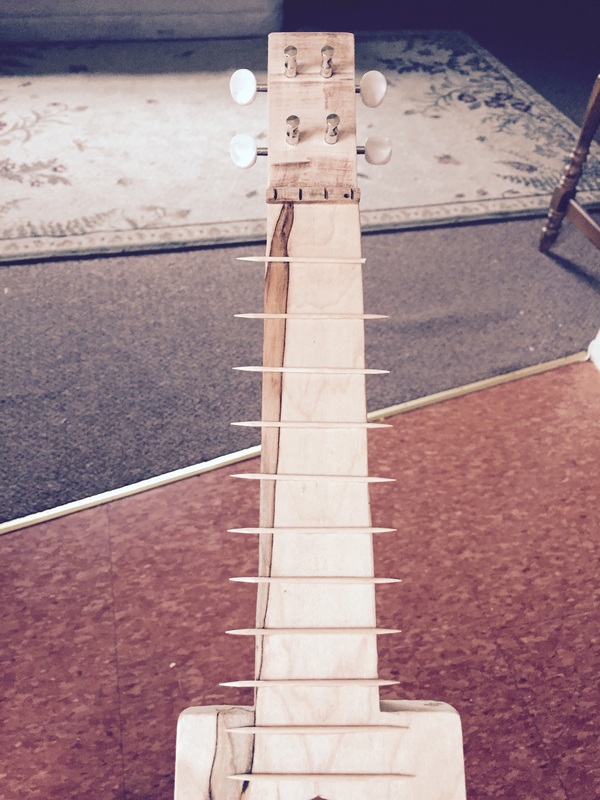 Measure the EXACT distance from the edge of your nut to where your strings will hit the bridge, write that number down, then go here: https://www.stewmac.com/FretCalculator Don't forget to choose the "Ukulele" option, and, depending on the size of your hole, you will likely have 12 frets. My options were-- 12 frets, scale length of 438 mm, measured in mm, and the ukulele option. Remember, you measure from the NUT toward the bridge (starting with 0 at the nut). Write down all the measurements and then measure EXACTLY and attach your frets. I just used a little super glue down the edge of each toothpick and let it set for a bit. Try to make these perfect since they will determine your notes and their accuracy. Then sand down the sides (I cut off the extreme excess) to the width of the neck--try to round them off for grip/comfort purposes, and also so that you don't get splinters while playing. step 7--make some markers on your fret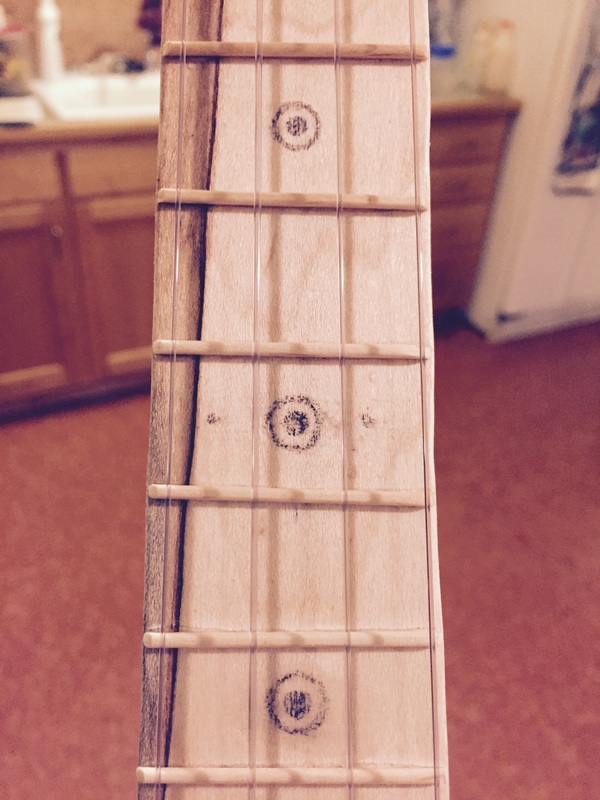 I made mine on frets 3, 5 and 7. You can look this up and do something freaky if you so please. I just used pencil, and then applied another layer of super glue varnish. I forgot to take a picture of this part before I strung it up, but you can see clearly above anyhow :) step 8: tac down your plastic bottle and set fire to this mutha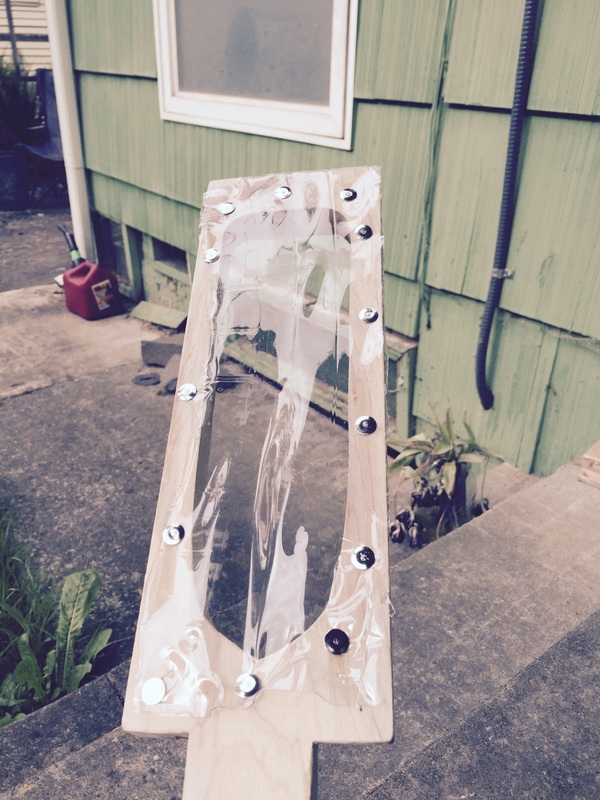 I was extremely unsure of how this was going to work out, but just try to give yourself a lot of excess plastic outside of the hole--you can adjust your tacks later if need be. Make it as tight and uniform as you can, but when you burn it, the plastic will shrink and give you that tight fit that you can't achieve without FIRE. Once your membrane is sufficiently tacked, pour some of the alcohol in the bottle cap and light it up. It is like a mini-campfire, so beware of heat (FUN THOUGH!)....hold the plastic close(ish) to the flame, so that it begins to shrink and take form. Only shrink to the point of shape obtainment....don't go past that or you may need to find another plastic bottle and do it again. Just dig through a few recycling bins--you'll find what you need fo sho. This seems super ghetto--but leave the tacks on. Trust me. Your membrane should be tight, and sound like a drum when tapped like a drum. NEAT At this point you're going to want to insert those 2 random screws into the back (through the plastic membrane) right through the body and into the two bridge sides. Make sure you leave a bit of the heads sticking out so you can attach your strings! step 9: almost there...add strings now!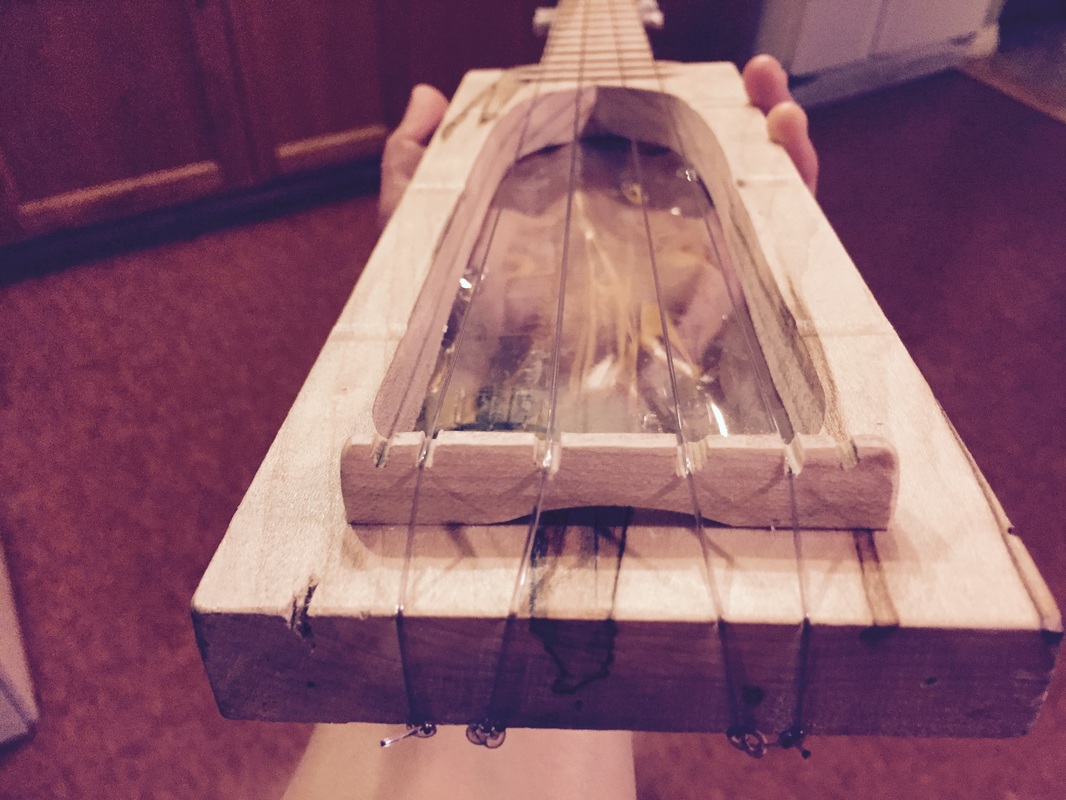 This is why you need the excess screw head sticking out of the bottom. Learn how to string a uke here: https://www.youtube.com/watch?v=LwNDkh43oqc Basically the only thing you're going to do differently is that you're going to wind the end of the strings around the screws on the bottom of the instrument, then back up and tie a knot around the same string (headed the opposite direction) at the base of the instrument (so it has an edge to hold on to). The knot is not so important here, but I'm sure you could do something fancy if that's your thing. As you can see above I had to adjust my bridge by adding new grooves toward the end when I realized that my strings where hanging off of the sides of my neck, and I couldn't play the outer two strings. LAME. Measure up love. It's worth it. step 10: finally--time to play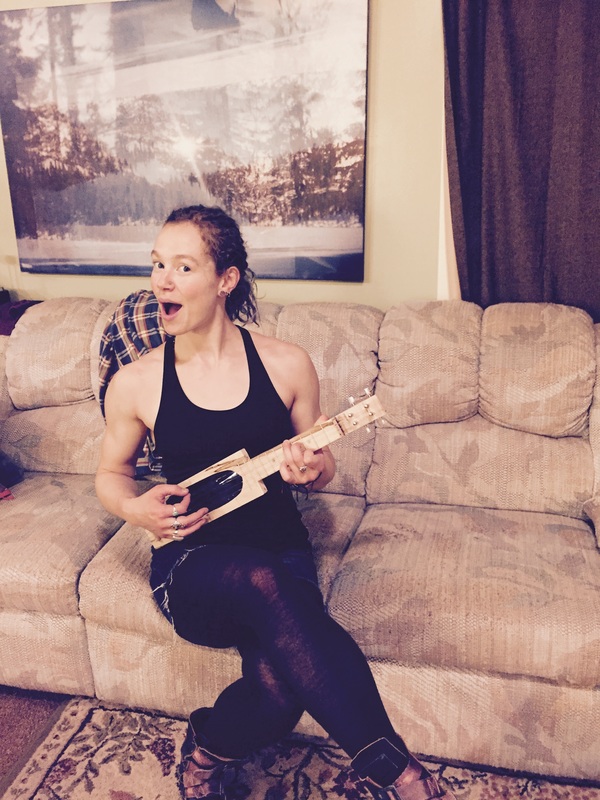 You can find some fun ukulele tabs here: http://www.ukulele-tabs.com/
Yay! Enjoy your home-made instrument :) It might sound kind of bad, but hey...you made it from basically nothing
4 Comments
|
my blog!adventures to and from, here and there, home and away, around the world--through my eyes, lens, and mind Archives
April 2021
Categories |
 RSS Feed
